The Space Ship is the most important gameplay feature in Out There -- managing your ship (including its upgrades and stored resources) is the primary way you can control the game and improve your chances of winning.
Thirteen different types of space ship exist in Out There. Changing ships can have a great impact on how your game unfolds because the ship vary in many different ways The most obvious characteristics are the ship size (ranging from 2 to 21 total storage slots), the layout, and the base ship ratings (power, ecosystem, and resistance). Less obviously, the resources necessary to operate each ship may vary -- the elements used to refill the fuel, oxygen, and/or hull meters, plus the elment used to fix damaged storage slots. Overlooking the fuel requirements of a new ship can easily be a fatal mistake.
Departure Ship[]
The player starts the game in the Nomad, which is a somewhat small ship with unremarkable base ratings. The departure ship always contains the five core modules (Drill, Hydrogen Probe, Interplanetary Reactor, Space Folder, and Telescope) and some basic resources (10 ![]() , 20
, 20 ![]() , and 16
, and 16 ![]() ). Successfully finishing the game (e.g., completing one of the game objectives) in the Nomad is extremely challenging; most players will want to move to a better quality ship as soon as possible.
). Successfully finishing the game (e.g., completing one of the game objectives) in the Nomad is extremely challenging; most players will want to move to a better quality ship as soon as possible.
A feature introduced in Out There: Alliance is the ability to unlock up to eight alternative departure ships. These ships are unlocked when certain objectives are first revealed, and also when each objective is completed. Choosing a better departure ship makes early gameplay much easier. In general, the departure ship always has the same starting conffiguration, i.e., it contains the same five core modules and resource stacks as the Nomad. The only exception is the Flea, which is too small and can only fit an Interplanetary Reactor, a Space Folder, and 20 Hydrogen.
Discovered Ships[]
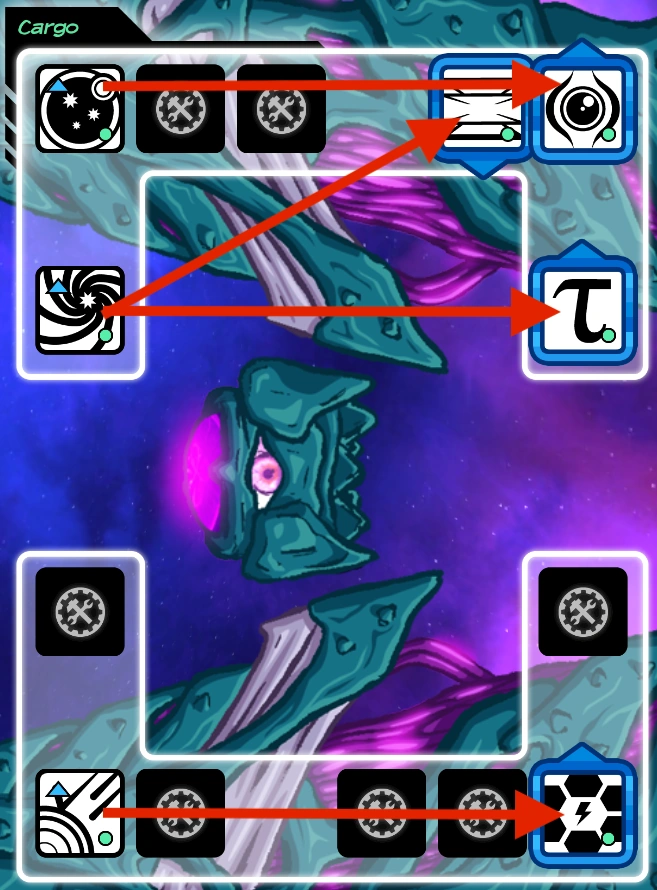
Other ships will be encountered as the player explores the map. These ships are marked as "Beacon, Abandoned Ship" in the star system view. Stars possibly containing abandoned ships can be identified remotely using the Interferometer, which categorizes ships as "Anomalies" (however, "Anomaly" can also possibly mean a Space Station).
Clicking on a ship in the star system view allows you to approach it, at which point you have the option to take over the ship (leaving your current ship in its place) and/or move resources between ships. Discovered ships have many possible uses:
- You may want to permanently take over the new ship, especially if it is a better type of ship (larger and/or more efficient), or has useful modules installed on it.
- The new ship can be used temporarily, for example, you can use it to mine/probe the planets in the current star system without depleting the fuel/oxygen on your primary ship.
- Ships can be turned into storage caches by filling them with resources. Any ship left behind in a star system will remain there until the end of the game; any resources left on the ship will always be available if you later return to that star.
- Installing a Stellar Embryo module on an unused ship creates a backup save point for the current game.
Two different categories of ship are found on the map: every map contains 23 Random Ships; additional Graveyard Ships are possible if that option is enabled, each corresponding to a previous failed game.
Random Ships[]
Every game map contains 23 Random Ships. These ships are always found in the same locations, but the type of ship and its installed modules are randomly determined. The type of ship can be any of the thirteen ships except for the Nomad (the only way to discover the Nomad is as a Graveyard Ship).
Random ships are generally in good condition, with 100% fuel, 100% oxygen, and 100% hull. One key exception is the Ark, which is always found with 80% Hull. However, some storage slots may be damaged, especially on the larger ships (all empty storage slots are always damaged on the Ark). The ships contain a random selection of modules. The core modules (Interstellar Reactor, Space Folder, Telescope, Drill, and Hydrogen Probe) are the most common (but are not guaranteed to all be present); other modules, for both known and unknown technologies, may also be present. Modules for unknown technologies can be used (and repaired if they break), but using a module does not let you learn the technology (you cannot rebuild the module if destroyed, nor can you build/move the module to another ship). The layout of the modules is arbitrary and generally is not optimized (i.e., upgrade modules are not in adjacent slots). Random ships never contain any resources (except for Arks, which contain Humans).
Graveyard Ships[]
Graveyard ships are ships in which you died during previous games; they are only possible if the "Graveyard Ships" option is selected when starting the game.
Graveyard ships are always found in the exact same condition as when you died: the same modules are installed and the same resources are stored on the ship. Most importantly, one of the ship's meters (fuel, oxygen, or hull) will normally be empty, so you will need to refill it before you can use the ship. (The only exception is if you ended a game using the "Give Up" menu option).
Graveyard ships are always found at the same location as where you previously died (although the details of the star layout differ between games, the map always uses the same structure of six strings of stars. Graveyard ships will be found at the same number star in the same string.) Graveyard ships remain present until you interact with them — if you enter a star system with a graveyard ship but don't approach the ship, that ship will show up in any future new game. At most one ship can be discovered in any star system — if you die multiple times at the same location, only the most recent graveyard ship will be found; if you die in one of the 23 star systems that normally contains a Random Ship, your graveyard ship will be found in place of the standard abandoned ship.
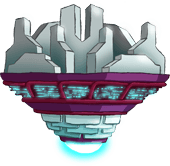
Types of Ship[]
All the possible Space Ships in Out There are summarized in the following table. THe provided statistics are:
- ΔFuel, ΔOxygen, and ΔHull quantify how much each of these meters decrease, relative to a ship with a rating of 1: smaller values mean the ship is more efficient and needs to be refilled/repaired less often. The corresponding in-game ratings (Power, Ecosystem, Resistance) are shown in parentheses for reference, but the ratings are less accurate / meaningful (see individual articles for details).
- Fuel, Oxygen, and Hull list the elements used to refill each of these meters, along with amount that the meter increases per ton of element.
- Slot Repair lists the element needed to repair any damaged storage slots
- Starting Ship identifies the ships that are possible Departure Ships, with the action necessary to unlock each ship.
- Slots specifies the number of storage slots. The number in parentheses is the number of slots added by a Symbiotic Extension module.
| Name | ΔFuel (Power) |
ΔOxygen (Eco.) |
ΔHull (Res.) |
Fuel | Oxygen | Hull | Slot Repair | Starting Ship | Slots | Layout | |
|---|---|---|---|---|---|---|---|---|---|---|---|
| Nomad | 0.8 (2) |
0.6 (2) |
1.0 (1) |
Always | 13 (+4) | 
| |||||

|
Flea (or Firefly) |
0.2 (10) |
0.05 (10) |
0.5 (2) |
Green start | 3 (+7) | 
| ||||
| Arrow | 0.6 (4) |
0.4 (5) |
0.67 (1) |
Green end | 10 (+6) | ||||||

|
Crescent | 0.6 (4) |
0.15 (10) |
1.0 (1) |
Never | 10 (+6) | 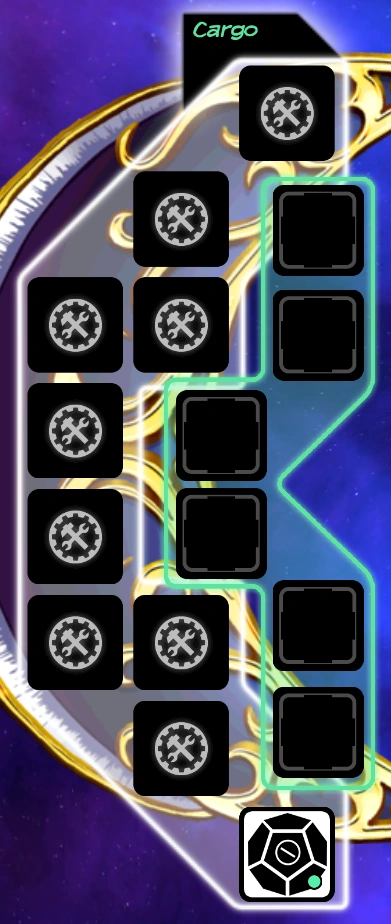
| ||||
|
Podracer | 0.6 (4) |
0.15 (10) |
0.33 (4) |
Never | 14 (+5) | 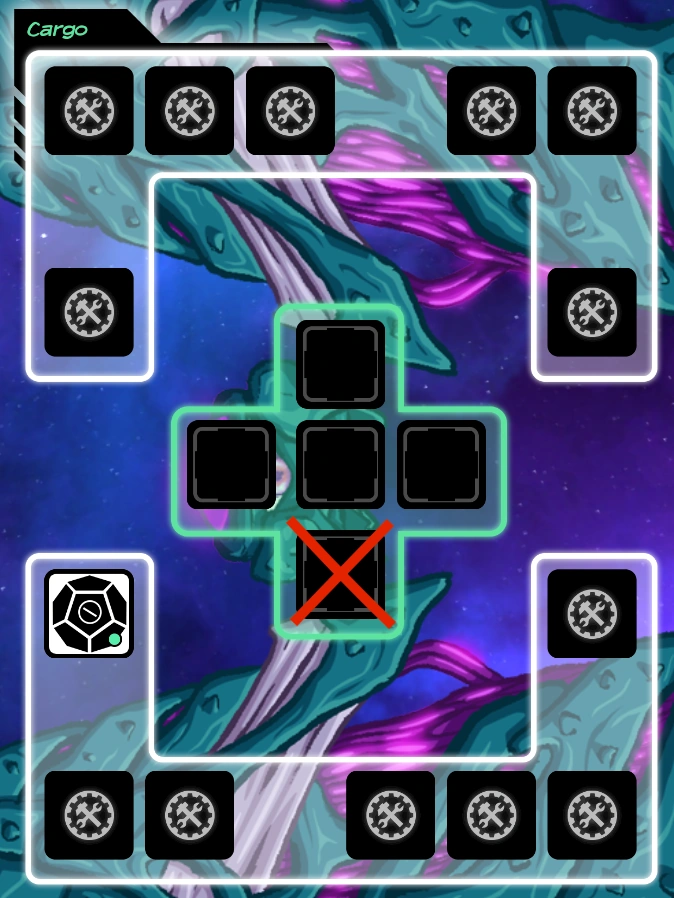
| ||||
  Modules and upgrades installed in all available adjacent slots Podracer ships have two notable bugs:
| |||||||||||
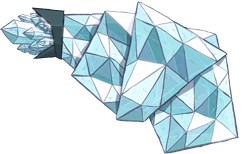
|
Cristal | 1.0 (1) |
0.5 (3) |
0.5 (2) |
Blue start | 16 (+4) | 
| ||||
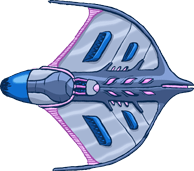
|
Space Fish (or Super Rocket) |
0.8 (2) |
0.4 (5) |
0.67 (1) |
Red end | 16 (+4) | 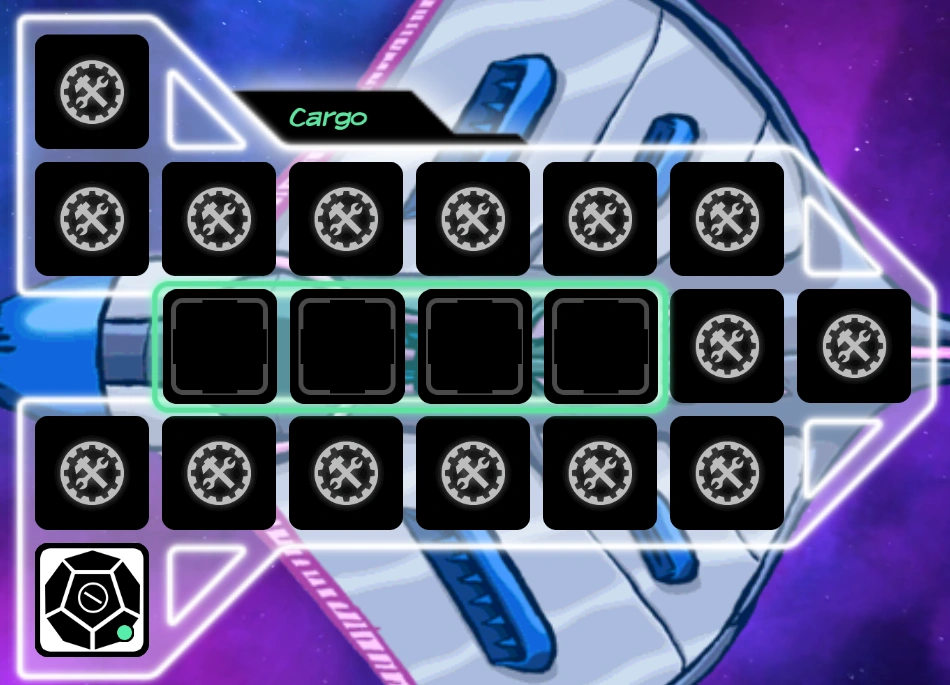
| ||||
|
Cube | 0.4 (7) |
0.125 (10) |
0.8 (1) |
Never | 16 (+4) | 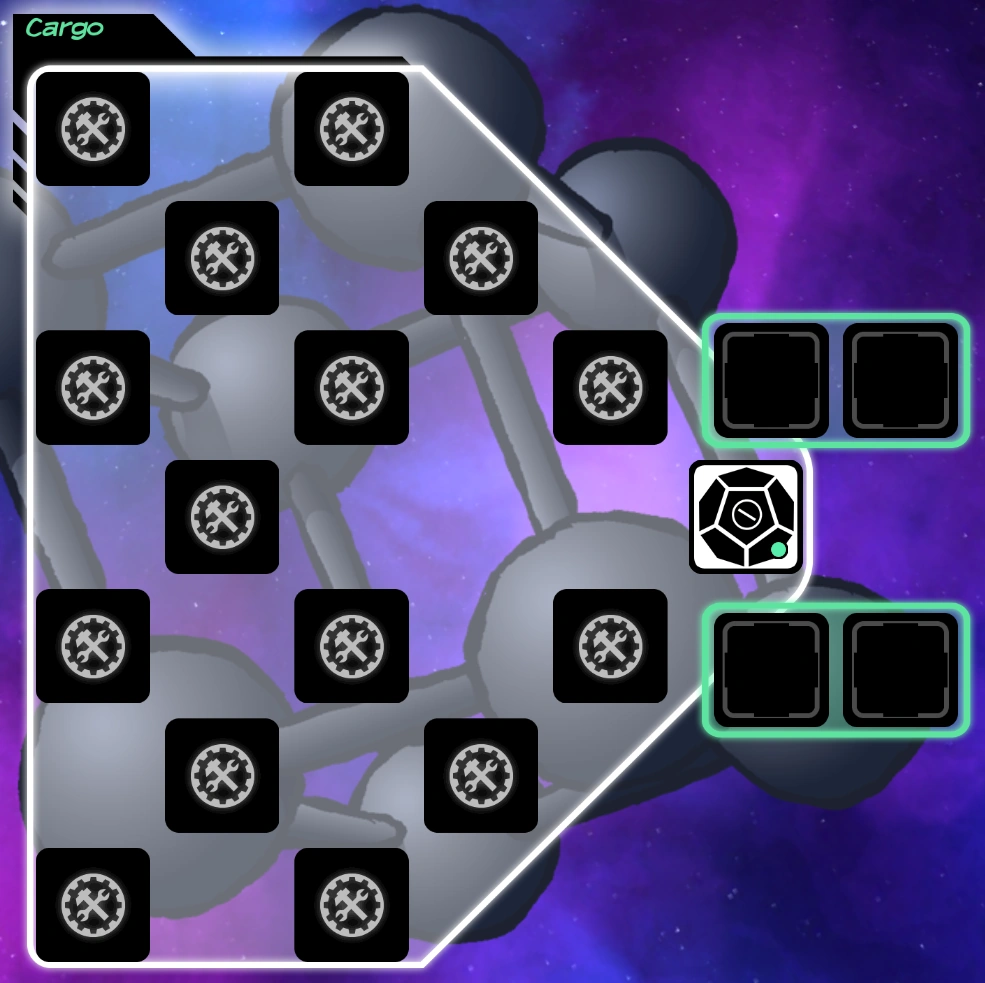
| ||||
  Modules and upgrades installed in all available adjacent slots Although the Cube ship layout appears to have no adjacent cargo slots, it actually has one hidden set of adjacent slots:
| |||||||||||
| Enemy (or People Death) |
1.0 (1) |
0.45 (4) |
0.8 (1) |
Blue end | 18 (+3) | 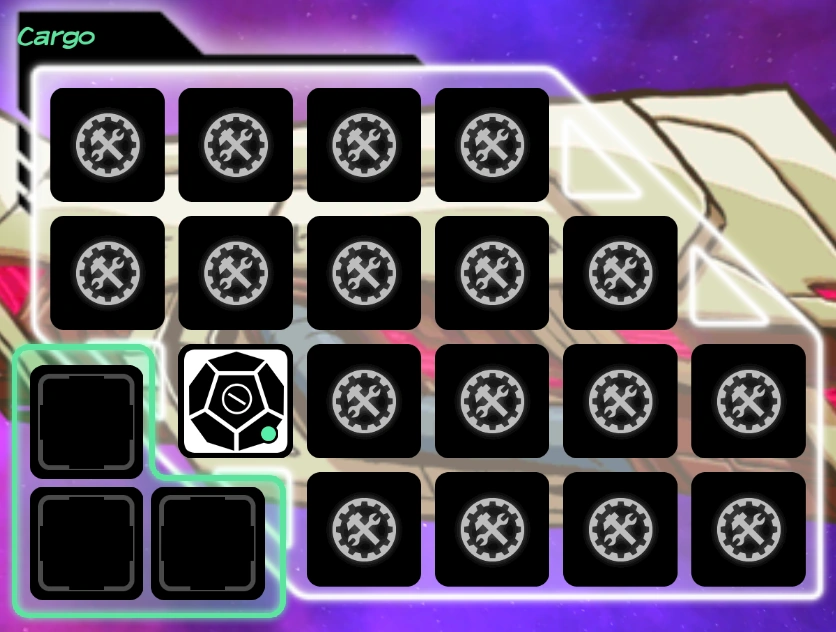
| |||||
| Yellow Ship | 0.8 (2) |
0.05 (10) |
0.4 (3) |
Orange end | 10+8 (+4) | 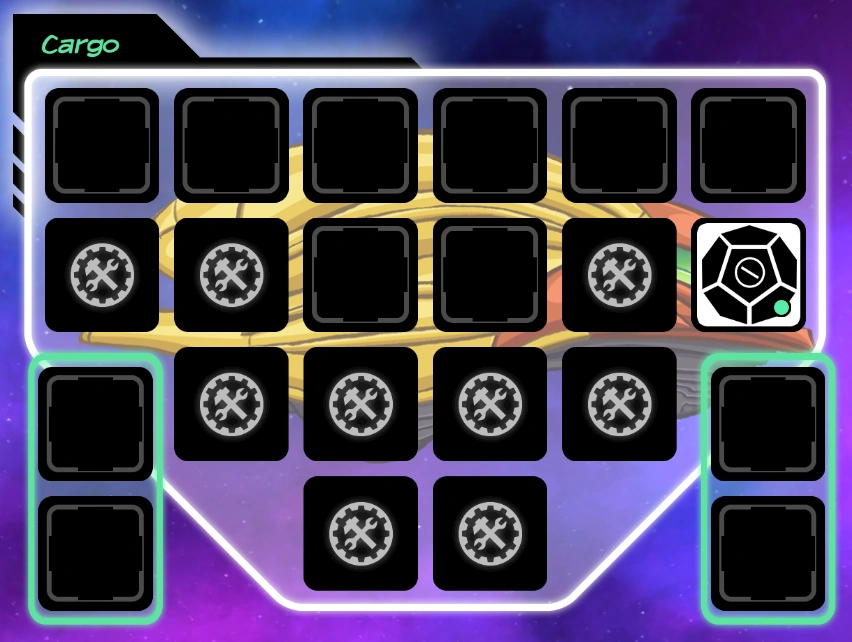
| |||||
|
Of the 18 storage slots on the Yellow Ship, only 10 of them can be used for modules. | |||||||||||

|
Life Tree (or Sphere) |
1.0 (1) |
0.35 (6) |
0.67 (1) |
Yellow end | 20 (+4) | 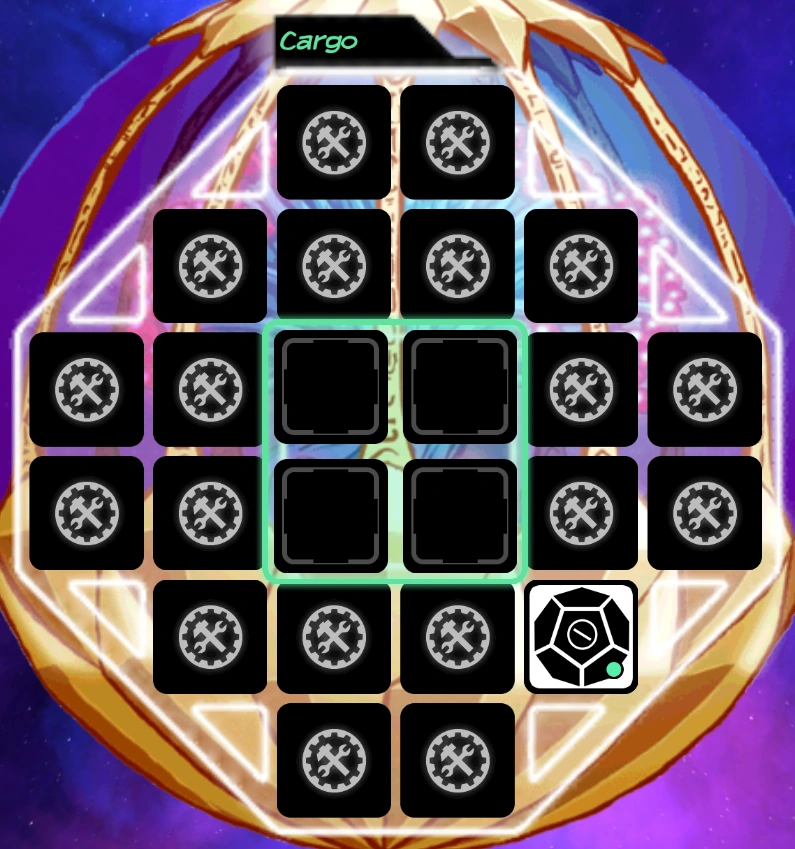
| ||||
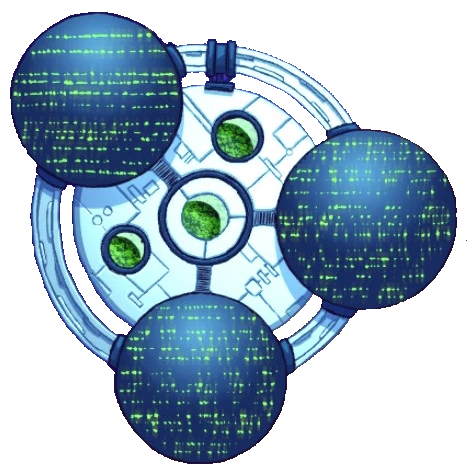
|
Ark (or Terran) |
1.2 (1) |
0.2 (9) |
0.8 (1) |
Yellow start | 20 (+4) | 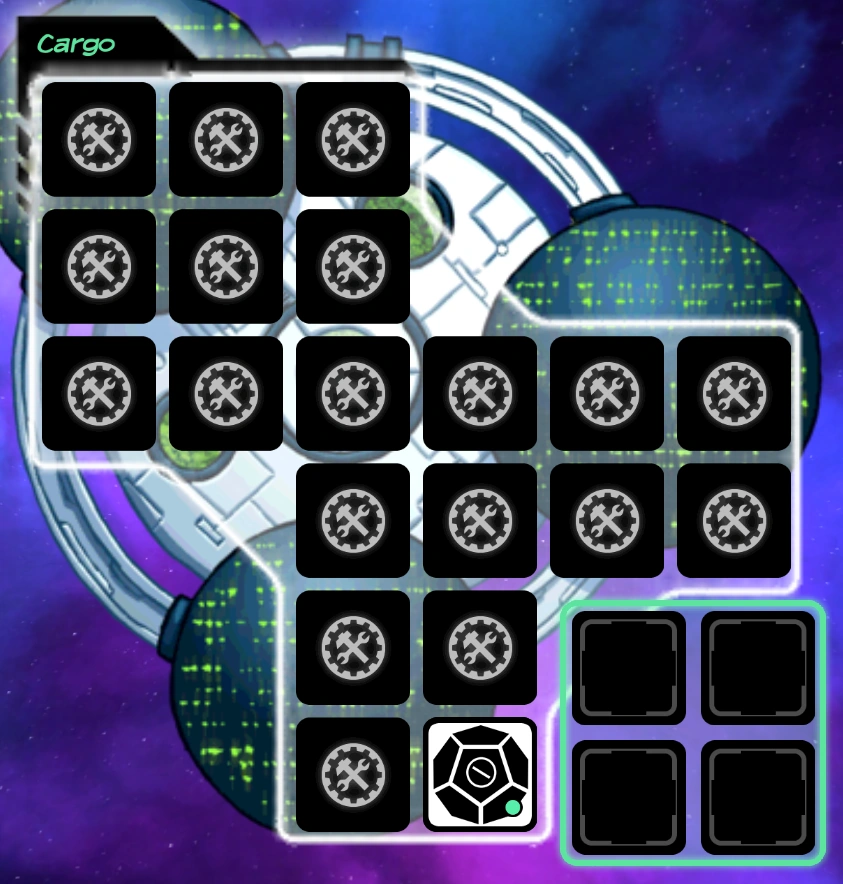
| ||||
| |||||||||||
|
City (or Disc) |
0.8 (2) |
0.5 (3) |
0.67 (1) |
Never | 21 (+4) | 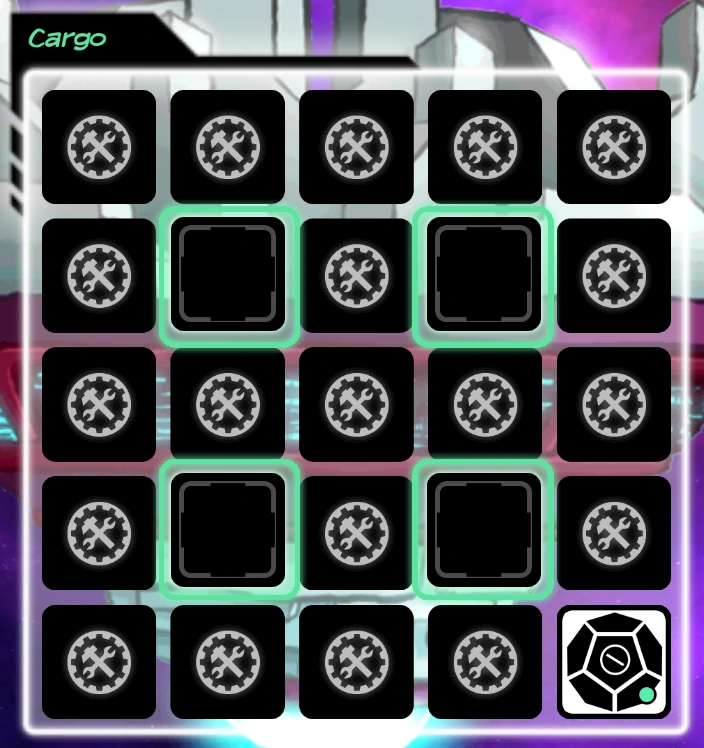
| ||||